Before I start, I want to pay a personal tribute to the workers from other parts of NZ and Australia who have helped repair our broken city. Here's an Orion
My personal perspective comes from the coalface with the guys.
These workers came from Northland to Southland, and Australia. They came with a real sense of 'wanting to help', and talking to them, they initially felt it wasn't so bad, having arrived at a reasonably undamaged airport and well-built Connetics home base.
That all changed for them when they started working on damaged cables in our Eastern suburbs, hill suburbs and in and around the 'Red Zone'.
Comments such as 'Munted is so right' and 'how can this happen to these kind of cables' were made to me. It soon dawned on the workers the enormity of our situation. As a consequence, their response became more focused and considerate. A public thanking them daily, thank you BBQs and being 'looked after' became the reward for these workers. They took an
ownership of the job and some felt bad abandoning us when they finally left! The majority felt several aftershocks and were very happy to leave them behind, however!
They focused on doing work in the place of locals who were doing up to 80 hours and more per week, while some spent up to 12 weeks away from their own families. Camaraderie was abound, and I found that Cable Jointers are practically 'cut from the same cloth' everywhere! Being privileged to work with these guys and being invited to a farewell social night for them was fantastic for me, and I can't say enough about these fantastic people.
I want to thank all of these workers personally. Thank you for helping us back onto our feet power-wise. You are all LEGENDS and I personally won't forget what you sacrificed for us.
I've created an online album of photos of the contractors
HERE.
Work log:
I would like to point out that I was directed by CPIT to discontinue in the Test Room on the 17th May and go back to doing Cable Jointing and Line Mechanic work. Unfortunately this has stalled further education in cable fault finding and overarching understanding. I do not anticipate working in Street Lighting as earlier stated as a consequence.
Monday 16th May:
Worked on Peterborough St with Chris from the Test Room to find a low-voltage underground fault. Also worked late on a underground faulty cable in South Brighton on a private premises.
 |
| Damaged Peterborough St house |
 |
| Chris from the Test Room Insulation Tests the suspect cable |
 |
| The boys dig for a faulty underground cable in South Brighton. |
Tuesday 17th May:
Maces Road 11kV faulty cable Bromley Road, Isolate, Earth, Test, and Energize when repaired.
Priory Street 11kV faulty cable find fault using thumper.
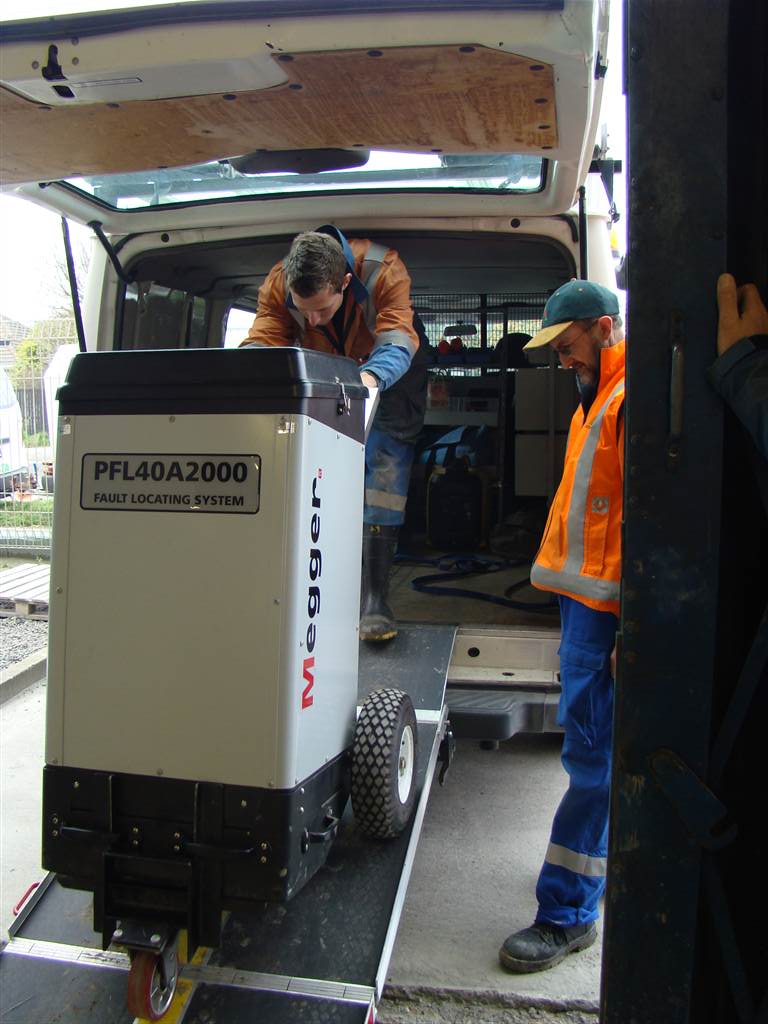
 |
| A BIG multifunction tester used to find underground cable faults |
Wednesday 18th May:
Back into Cable Jointing department (ordered to by the Boss) 11kV PILCA-XLPE-PILCA New Brighton Road
 |
| More quake-bent cables |
 |
| A contractor removes the semiconductor layer using a file |
 |
| A number of failed historical underground joints |
Thursday 19th May:
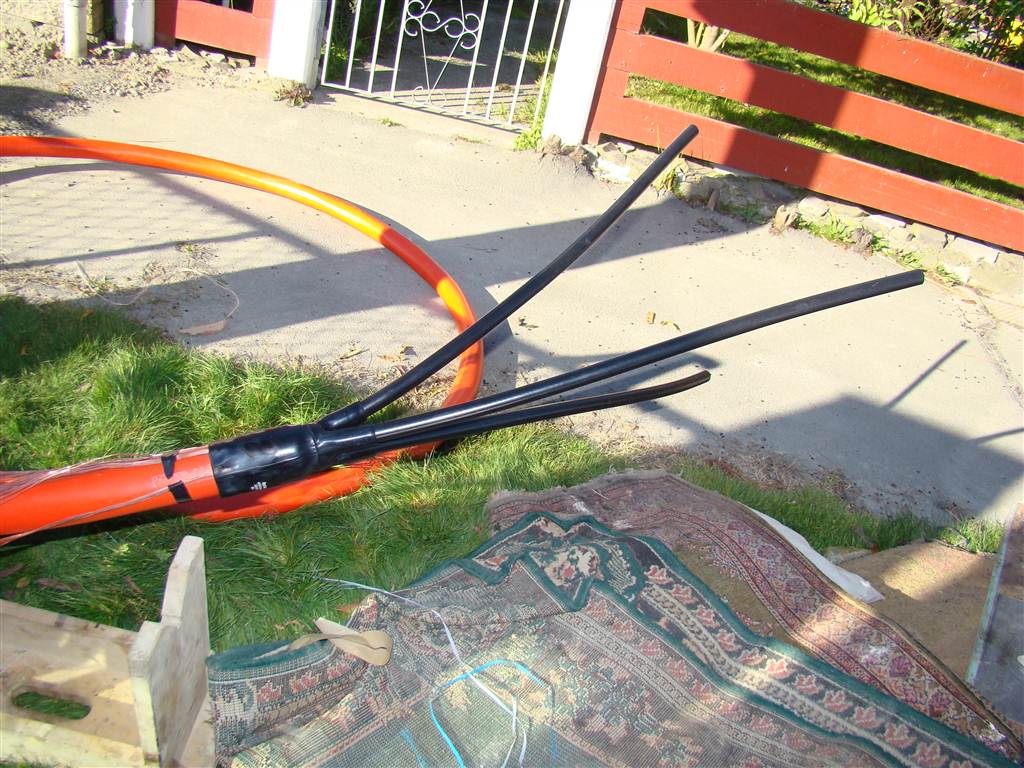
11kV 'Trouser' joint PILCA-XLPE-PILCA Orari Street, Bexley.
 |
| 'Trouser' joint underway |
 |
| Boundary box neutral bar broken when cable was stretched by the quake |
Friday 20th May:
LV Kiosk Terminations, Dalziel Place, then communications cable and 11kV joints, Nurses' Hostel next to Christchurch Hospital.
 |
| The gates at the Nurses' Hostel are removed |
 |
| LV terminations in kiosk |
 |
| Communications joint |
 |
| Finished Communications joint |
Monday 23rd May:
Keyes Road 11kV PILCA-XLPE transition joint with Reece
 |
| ANOTHER damaged 11kV armoured cable |
Tuesday 24th May:
11kV PILCA-PILCA to isolate the Copthorne Durham so the Christchurch Casino could be energized, Red Zone.
 |
| Side entry to the condemned Copthorne Durham Hotel |
 |
| Shearbolt for 2x PILCA cable kit |
 |
| Finishing 11kV PILCA-PILCA joint |
Wednesday and Thursday 25th and 26th May:
Sick leave with a Gastronomic virus.
Friday 27th May:
LINES DEPARTMENT: Install poles for the 66kV overhead from New Brighton Substation to Rawhiti Substation.
 |
| Installing 66kV pole |
 |
| Midway pole replacement; big for small! |
Analysis: Jointing XLPE; A personal perspective
I thought it would be a good idea to describe what it's like to join an 11kV XLPE cable. It's all fine and good to see pics and video, but what is it like to actually do?
I joined a cable in Bexley as part of a trouser joint (see Thurs 19 May in log) and asked myself what it felt like to somebody who has never done one. Here we go:
Each cable jointing kit comes with an instruction sheet. The conductor size and obviously joint type must be taken into consideration (transition, trouser, XLPE-PILCA, PILCA-PILCA etc.) before getting the kit and ensuring the correct kit is being used. There is no margin for error; each kit costs around $1500.
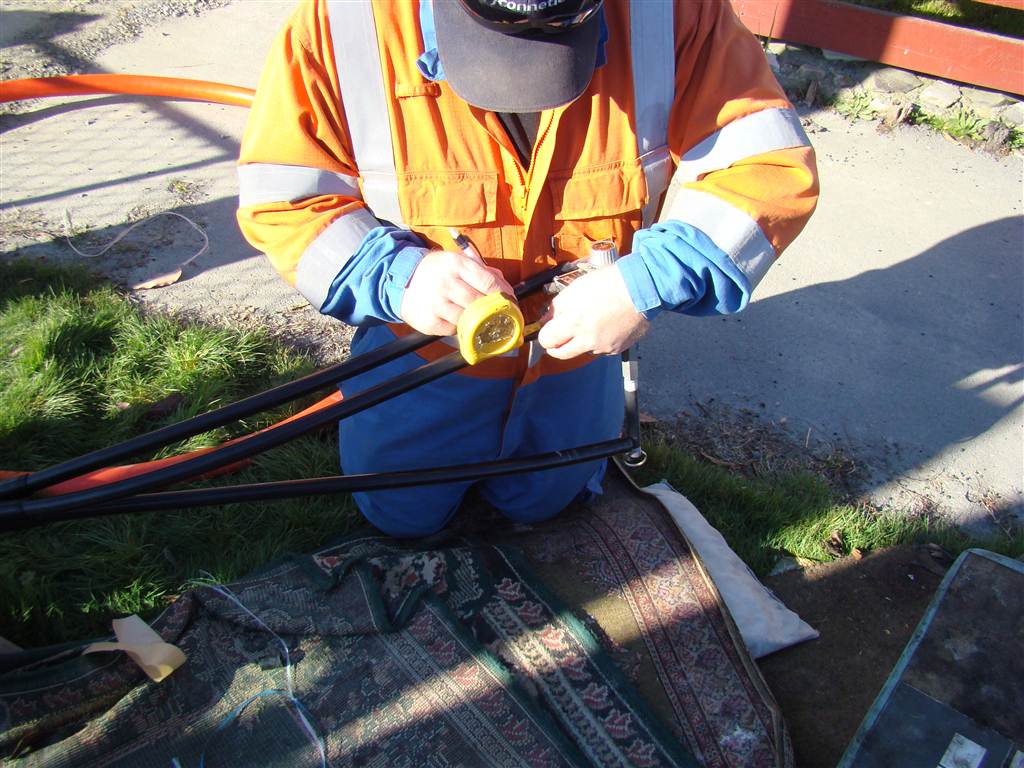
Safety procedures must be followed. The test room must find the fault, mark the fault, and then the diggers dig the access hole and expose the cable. The test room must identify, isolate and earth both ends of the cable, at which point the Jointers 'spike' the cable to ensure isolation (spiking uses a blank shell cartridge to drive a metal spike into the cable, which would cause protective devices to operate when the spike shorts out conductors.
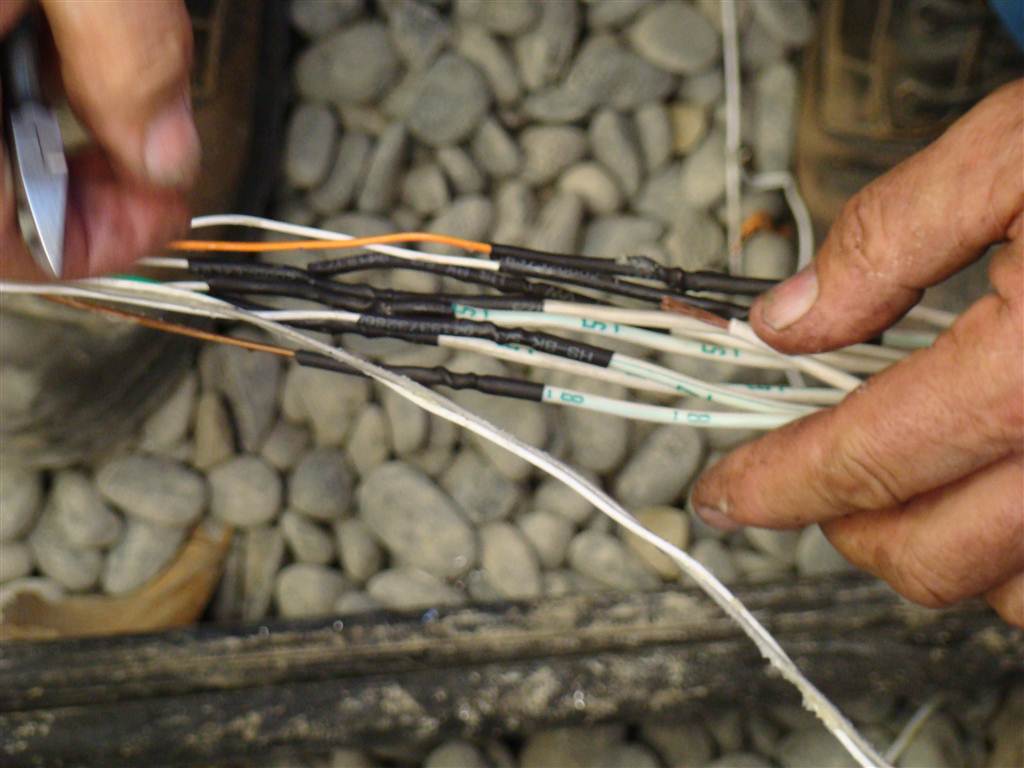
Once spiked, the cable is cut and jointing can start. In the picture below, I've already taken the HDPE orange outer layer off and the inner MDPE black layer also. The HDPE being the outer layer is hard plastic and strips a lot more easily if heated up (electricians strike something similar when stripping cable when prewiring a house on a frosty morning), so the cable is marked to the right length, heat is applied, and the outer layer is removed using a reasonably thick blade knife. Inside that is a type of white plastic webbing which fills gaps and allows flexibility of the cable. This is removed also, using a very sharp knife. Care must be taken using the knives, firstly to cut away from yourself, and secondly not to damage any other parts of the cable.
 |
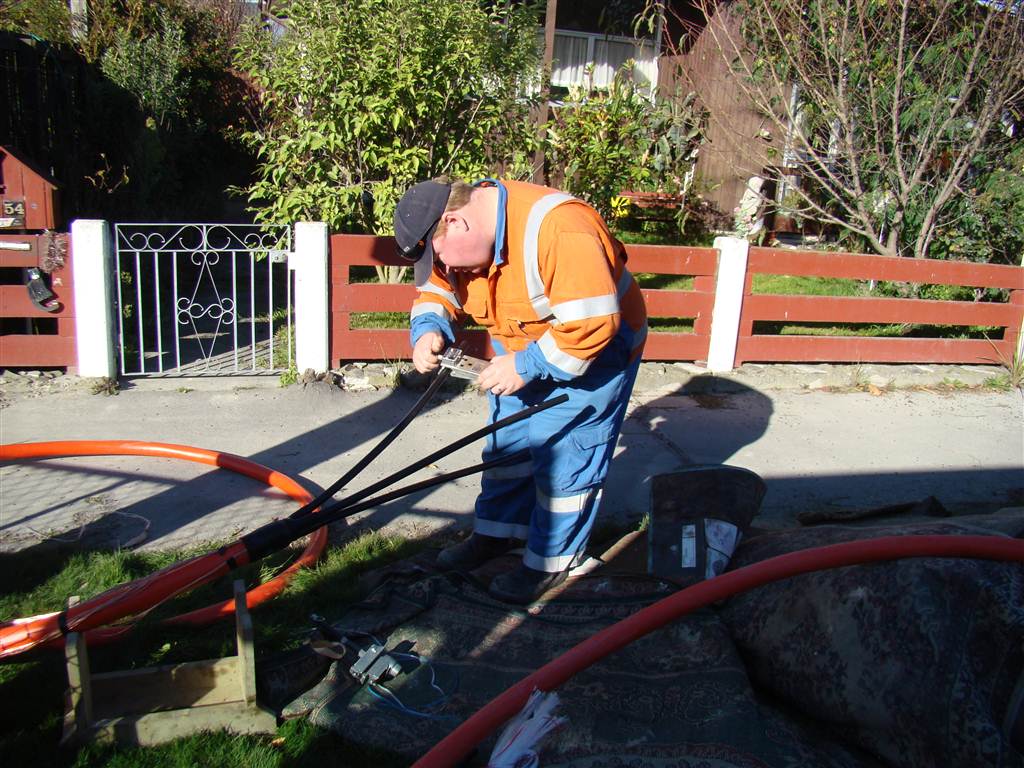
| Removing the webbing.. Ignore the rug, some nice person threw it into the street! |
Once the white webbing is removed, the three individual cores are exposed, each having an outer layer of copper which is termed 'neutral screen', but is actually an earth. In NZ's Multiple Earthed Neutral (MEN) system, Neutral and Earth should be the same potential anyway.
The Earths are peeled back and taped with insulation tape to the outer of the cable to protect them and keep them out of the way.
Dark red stretchy tape (called mastick) is applied to the outer of the cable just behind the initial strip mark. Mastick chemically bonds to itself once it touches, so extreme care must be taken to 'get it right first time'. Once the cores are separated, a 'boot' is applied and shrunk down at the base of the individual cores.
 |
| Applying the boot |
 |
| Shrinking the boot down |
 |
| The product so far.. |
 |
| Using semiconductor layer stripper |
The semiconductor layer is stripped back extremely carefully (Connetics specify the use of a special tool) and the XLPE is stripped back as well. Once again measurements must be exact.
 |
| Using semiconductor layer stripper |
 |
| Making measurements |
 |
| XLPE strip tool |
 |
| Removing the semicomductor layer |
 |
| Prepared. Note the 'boot' at the left edge of the picture. |
A layer of 'void filler' is applied to ensure a water block layer between the semiconductor layer and the XLPE layer. Void filler is yellow and chemically bonds to itself just like mastick, so care must be taken.
 |
| Applying 'void filler' |
Heatshrink is applied outside the void filler.
 |
| Shrinking down. Care must be taken to avoid burning the heatshrink. This will degrade the insulating properties of the joint. |
 |
| Shrink applied |
Once the heatshrink has been shrunk down, the termination can be done. At this point it is a good time to 'double check' that all shrink is on the right parts of the cables being joined (you can't thread it on once the terminations are done!). The test room is then bought back to establish that phasing is correct. Once established, the terminations (shear bolts) can be tightened up and sheared off using a battery impact driver.
 |
| Inserting conductors into shearbolts. |
 |
| Inserting conductors into shearbolts. |
 |
| Shearing off bolts |
 |
| Shearing off bolts |
'Void filler' is applied to the outside of the shear bolts. Once done, the thick heatshrink with the semiconductor outer and insulating inner can be shrunk on in place.
 |
| More void filler |
 |
| The thick heatshrink |
 |
| Shrinking down |
 |
| Shrinking down |
 |
| Still shrinking down.. there's a real knack to this! |
 |
| Shrunk! |
A layer of conductive webbing is applied to the outside of the joint so far. This allows earth conductivity to be consistent on the outside of the joint itself.
 |
| Doing the webbing |
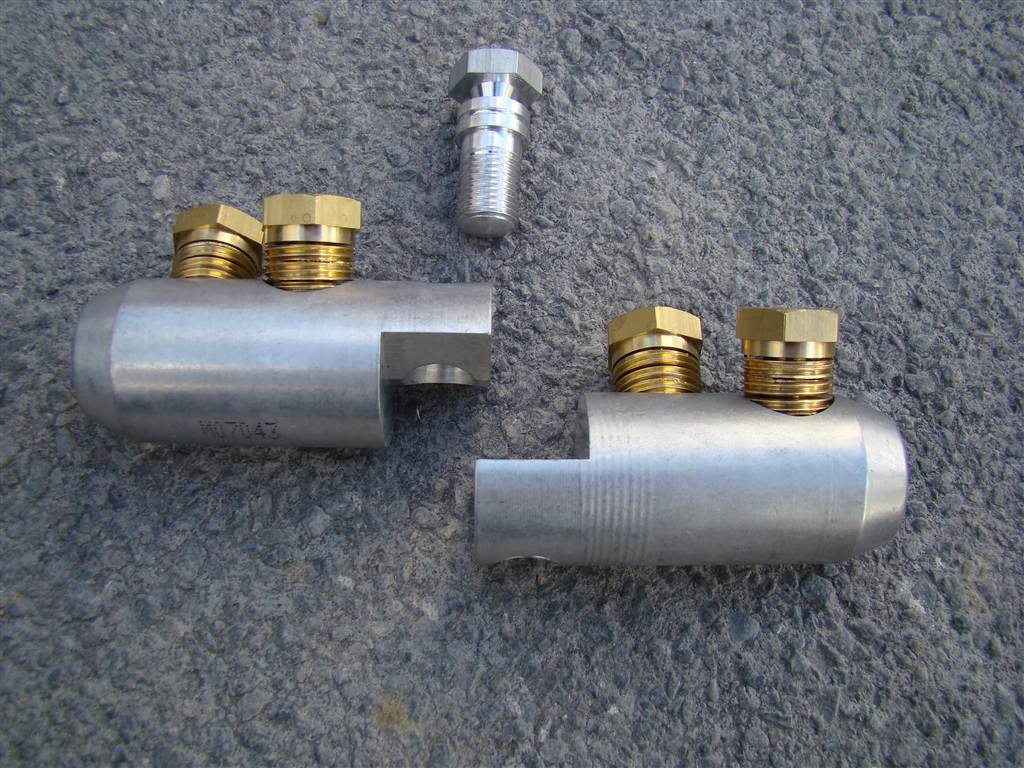
Once the webbing is attached, the external earths can be attached. The PILCA side neutrals have been bonded in the lead wipe. The neutrals are connected using 3 brass shear bolts.
 |
| Connecting the 'neutrals' (earths) |
 |
| Brass shear bolts |
 |
| Doing up the shear bolts |
Once the neutral shear bolts have been connected, they have individual insulating tape applied around the outside of them to protect the final outer heatshrink from any sharp edges. The final outer heatshrink is in two pieces, and have another sticky black strip that is used inside the overlap.
 |
| The first of the final outer heatshrink bits |
 |
| And the second... |
 |
| Shrinking is done from the middle out. |
 |
| Finishing off. All parts must be shrunk down. |
 |
| Done! |
Once finished, the Test Room is notified and they then do continuity testing, insulation testing, and then liven if Orion requires it to be live. I want to thank Reece for taking the photos of me!
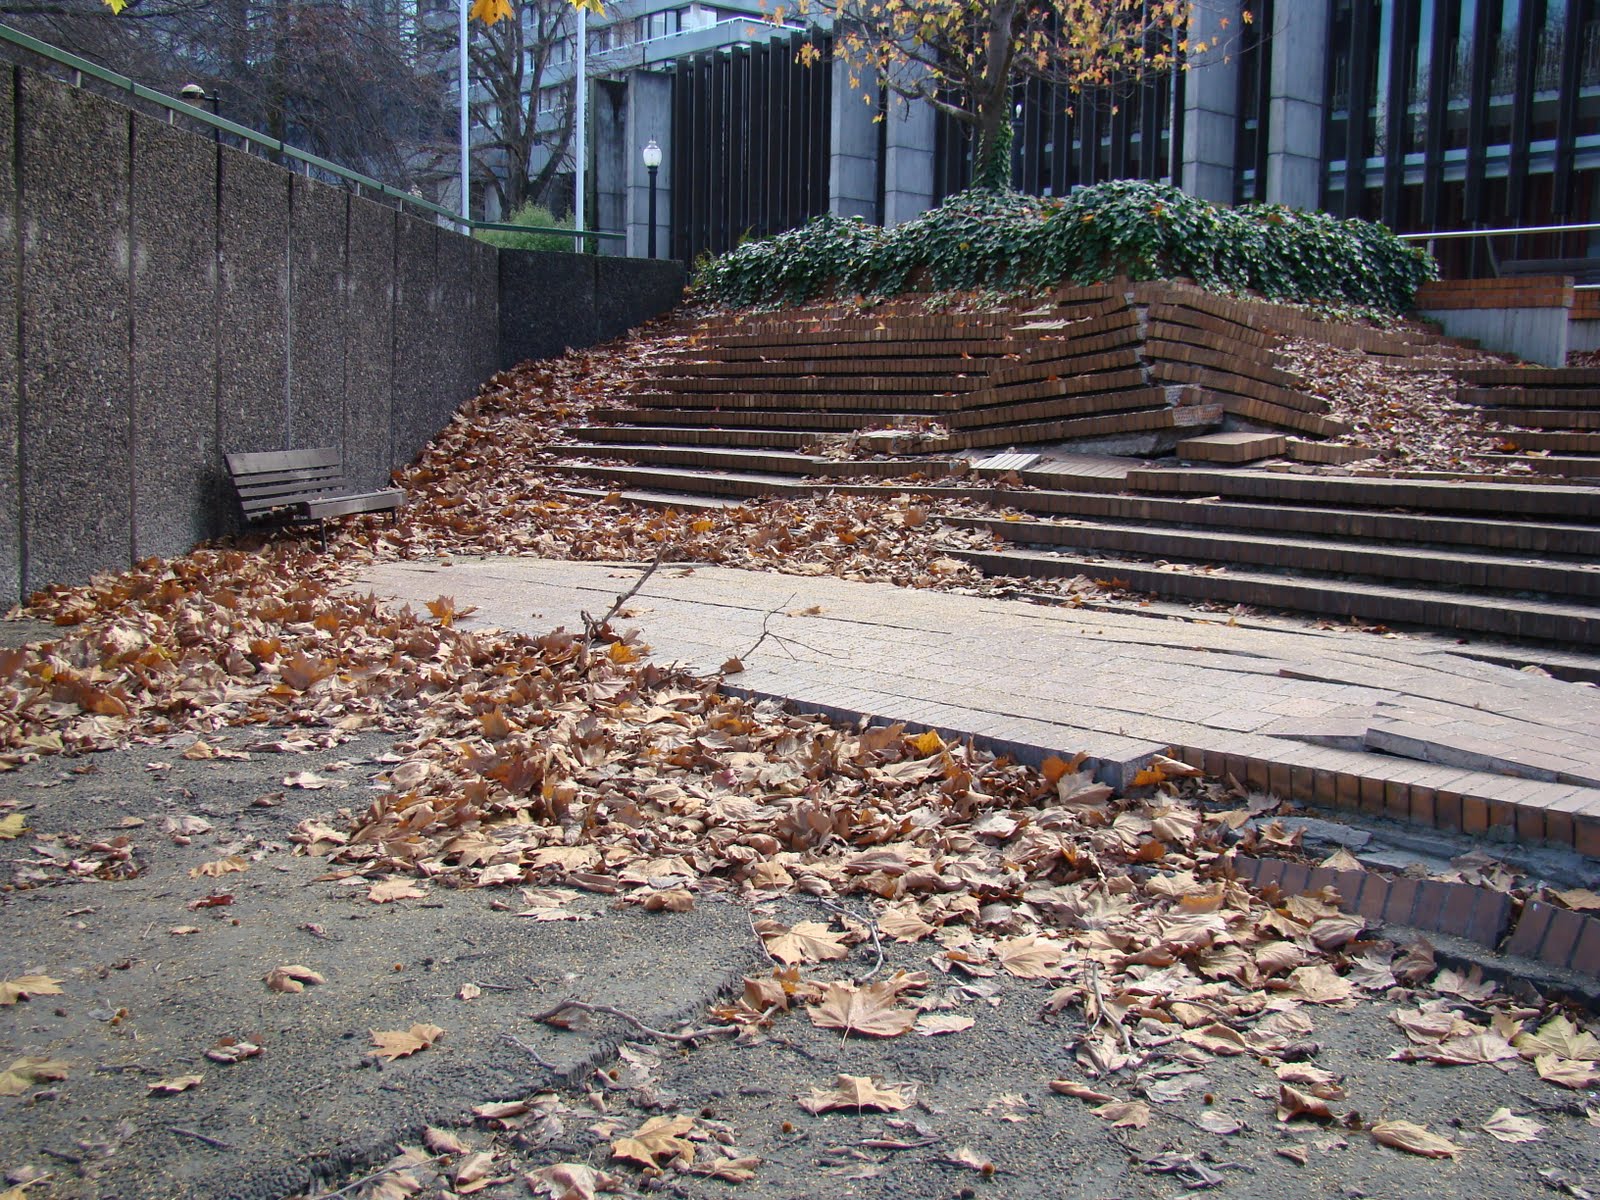
I have to apologize for the now-fortnightly posting; I have been flat stick; The earthquake appears to have put several cracks in our foundation, and our house is on a lean as a result. Preliminary assessment from EQC and our Insurance company indicate our house will have to be rebuilt, which is making life busy for my lovely Wife and I.
I have put more photos in my earthquake damage online album
HERE.
 |
| The Town Hall steps.. munted. I stood here a year ago for my graduation. So sad. |
Next time: More 66kV overhead lines!


Comments
a really good series of resources for your students to show them the reality of cable installation.
Will the students be practicing the technique on 'dummy cables' at polytech? as this seems to be an area that will require hands on practice.
It will be good for you to think through how the practical skills detailed in the series of photos in your blog, will be introduced to your students and how students will learn and practice to hone these skills.
Keep up the great blogging, Selena
YES they will! A supplier of jointing kits will be bought in to demonstrate the kits' use and then the students will have a go themselves. I will be assessing the joints that will be done and maybe bring in an experienced jointer to assist assessment initially.
Apparently a 'failed joint' in the past has not been given the opportunity to be re-attempted. I intend to allow students to video themselves doing actual joints in the field and allow to be submitted as resits.
Thanks for commenting!
Andrew